by Bridget | Apr 15, 2010 | Henna
My drawing “Day9” that I did on my 9th day of bedrest was PUBLISHED!!
If you can, get your hands on this year’s copy of Cellar Roots 39th Edition . My drawing is full color, full page . ivermectin philipines I was so excited to hear that it was selected. can pugs be given ivermectin Last night, we went to the celebration dinner they had for those who were selected and Judah was the star of the show with everyone talking to him, even the hosts were making Judah apart of their speeches. how long can i take ivermectin topical
🙂

*Kelly*
by Bridget | Apr 13, 2010 | Uncategorized
I put off doing some crafts because I was scared of doing eyelets ! WELL NO MORE!! I have finally did it and I have been successfully doing eyelets since 2008 😉 and now YOU can do the same :
*enter some very amped music*
ITS THE! EYE OF THE TIGER, it’s the cream of the fight
Risin’ up to the challenge of our rival
And the last known survivor stalks his prey in the night
And he’s watchin’ us all in the eye of the tiger
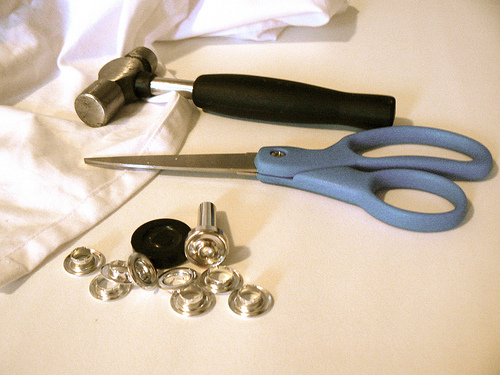
Eyelet Tutorial
Materials :
Eyelet Kit
Hammer
Scissors
Fabric to be eyelet-ed
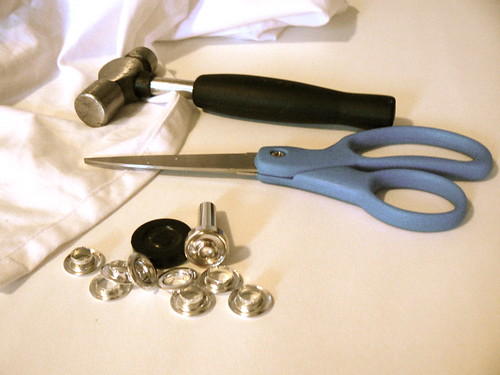
Step 1 : get an eyelet kit from the craft store (aka: mother ship) Make sure to get NOT the refill kit with just the eyelets. You want the one with the hammer accessories.
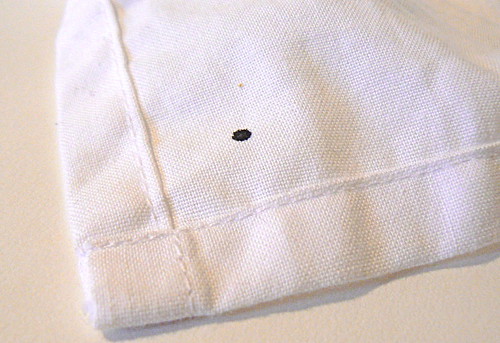
Step 2: Mark where you want your eyelet to go. Preferably inset enough from the seams that you wont risk ripping or tearing when pressure is added to the eyelet.
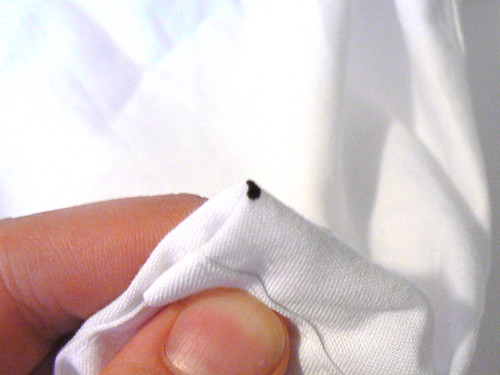
Step 3: fold the fabric area in half, then half again, to make that pointy triangle right where your mark is
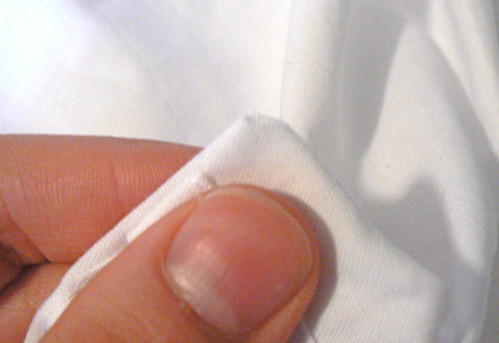
Step 4: VERY IMPORTANT: DO NOT cut too big of a hole. Just Baaaaarely snip it. (remember, you can always subtract fabric) make a teeny tiny hole (trust me, it comes out bigger when you unfold it, plus you don’t want the hole to be too big so the eyelet can actually attach to the fabric)
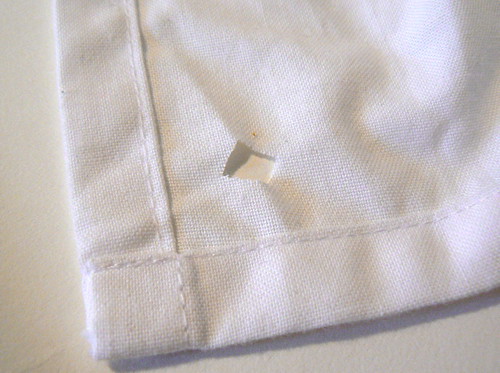
Step 5: unfold. seeee? that’s a pretty big hole for a teeny tiny sniplet =)
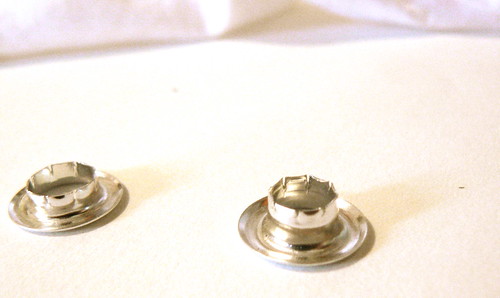
There are two parts to the eyelet: let’s call them male & female 😉 (the male is the protruding one)
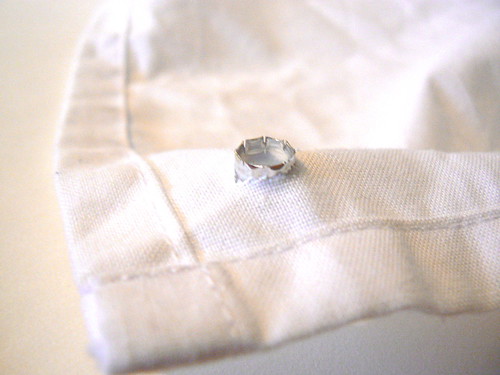
Step 6: Place the eyelet
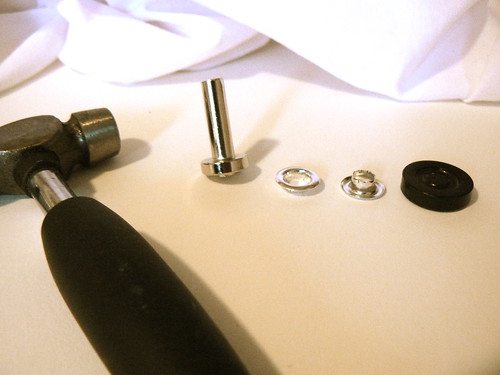
Step 7: This is the order to assemble the eyelet sandwich -if you will- from TOP to BOTTOM
Hammer on top of the “hammer accessory”
the female eyelet on top of the fabric on top of the male eyelet
the that all sits on the holder on top of the table
Step 8: Hold the “hammer accessory” on the now-made eyelet sandwich and HAMMER HAMMER HAMMER (watch out for the fingers!)
and…
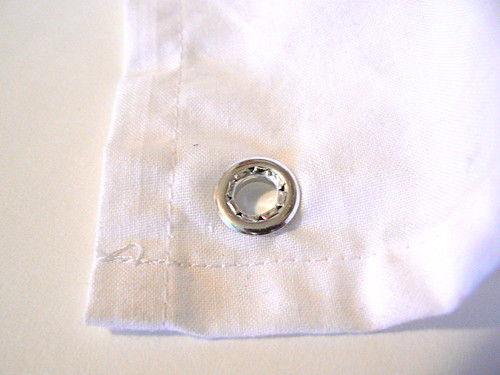
TADA!
Fear those eyelets no more!
*Kelly*
by Bridget | Apr 13, 2010 | Henna
Helloo I’m so excited to show you Judah’s nursery I recently finished decorating (for now) hehe =D
He is 12 weeks old now.

Judah ( a little slumped over because it was right before his nap ) enjoying his bachelor pad. does ivermectin treat babesia I painted the mural that’s behind him, the painting of the beluga whale on the right and made the curtains, too

I made this banner by cutting out shapes out of cardstock then sewing them together. I used a fairly long stitch and loosened the tension. I fed one through, stitched it, kept the machine stitching for a few moments, then fed the next one through. Super easy & FUN

![]()
This is his name made out of the same cardstock . I stitched the two color layers over top of each other instead of gluing them for a more fun effect. worm cat with ivermectin


Some of his toys and books. We asked people to give him books with a special message written inside in leu of cards because cards get thrown away and are almost as expensive as kids books anyways. ivermectin & albendazole tablets

His wooden colored rings set & his piggy bank grandma gave him
AND THE BEST PART!!!

JUDAH!! ;D ;D ;D ;D
comments welcome!
*Kelly*
by Bridget | Apr 13, 2010 | Uncategorized
Hello ;D
Judah is 3 months old and growing faster than I could have ever imagined. We have lots of outgrown clothes so I made him a big stuffed jingling ball to play with out of some recycled clothes he’s grown out of.
enjoy 😀
comments & crit welcome


*Kelly*
by Bridget | Apr 13, 2010 | Henna
I made these lanterns for a great, very low budget Halloween decoration. قوانين بلاك جاك I love Halloween, so I made these for the parties I am throwing this year.
I included this tutorial I made, so everyone can enjoy these 🙂

First the materials you will need are large paper lanterns like these:

Wide, satin, wire ribbon:

Scissors
Green floral wire
Paints, Markers, paint brushes

So first, I made pumpkins and skulls
For the pumpkins, I painted the lanterns orange with two coats of thinned acrylic paint

While they dried, I drew on the faces for the skulls. I wanted to make them pirate skulls. العب بوكر I took blue card stock construction paper and measured a few inches on either side of the skulls for their hats.

I drew out two hat designs, one for each pirate


I painted the card stock black for the pirate hats because I didn’t have black paper. Then I painted a Jolly Roger on one, with googly eyes

I fitted the hat on the skull and attached them to the side with wire, using the wire supports inside the lantern to attach the wire to.

The orange ones were dried, so I drew and painted faces on them

Then I took about 5″ of the green ribbon and twisted it around to look like a stem for the pumpkins


I wrapped one end of the twisted ribbon around the lantern support on the top


Next, I cut 4-5 leaves for each pumpkin. I cut out a basic leaf shape


I cut about 4″ of wire. I stuck one end at the bottom of the leaf then twisted it around. لعبة بلاك جاك اون لاين I added 3-4 more leaves to the wire, wrapping them as I went


I wrapped the wire w/the leaves around the same place the stem was.

This is the final product!! Enjoy! Comments & crit welcome


*Kelly*