

Inspiration Jar
Since becoming a mom, and this year being my first Mother’s Day to celebrate, its become a different holiday to me. I realized that certainly takes a lot to be a parent, and I havn’t even been at it for 4 months yet. I also realized that it been the best experience. I have always been grateful for my parents, but I am especially grateful in a new way.
So this year I wanted to give my mom something I really thought was special. I saw the tutorial from Dana’s Amazing blog, MADE. I read her blog daily. Its an inspirational jumping-off point for journal writing. You pull out a prompt, and write about whatever comes to your mind.
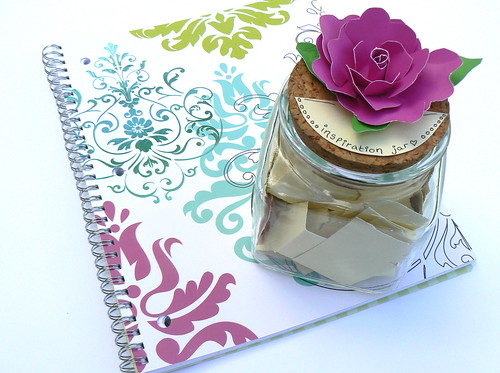
*I found the jar for $1.00 at the Salvation Army
*I made the flower on top with scraps of card stock and E6000, which is the best glue!
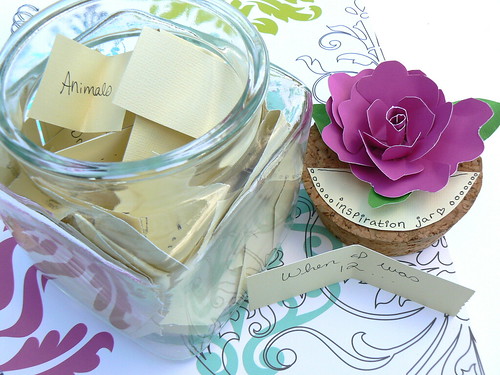
*The scraps inside are a mix of suggestions from the tutorial and ideas I had.
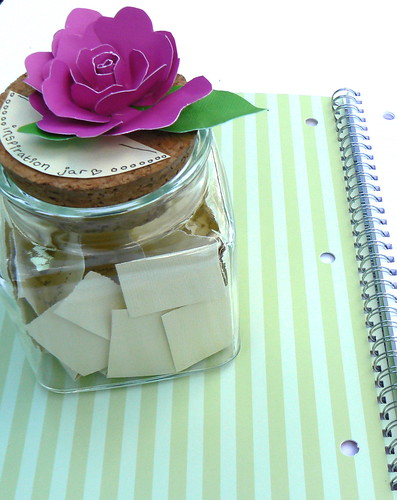
*The notebook was $2.00
Total project cost varies : about $3 – $10 (if you don’t have any of the supplies)
I’m excited to see what she comes up with.
*Kelly*

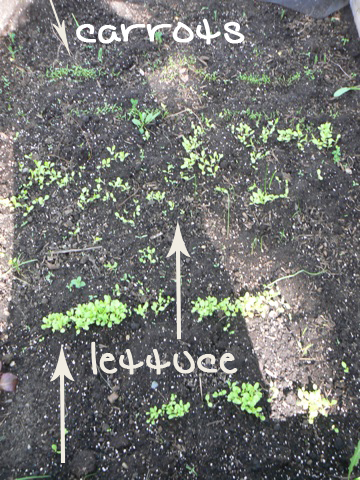
Our 2010 Garden!
This is such an exciting time of the year for us! Gardening Season!
Here is the layout this year, more to come with updates as they get more and more pretty. how does stromectol work
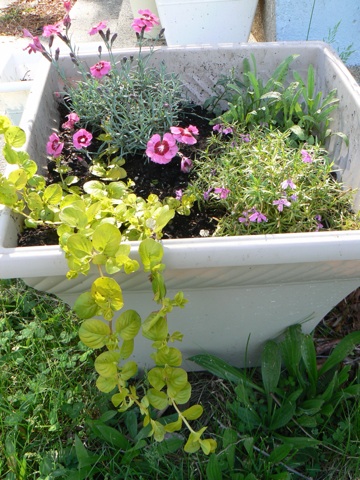
planter box with mosses & other lovelies
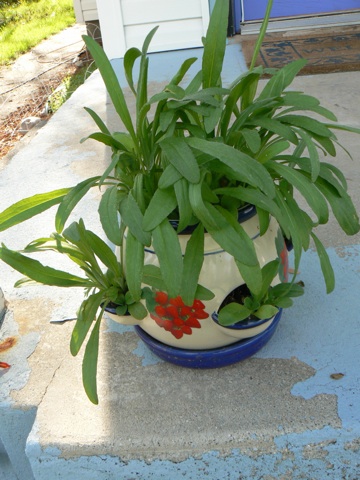
strawberry planter with wildflowers growing
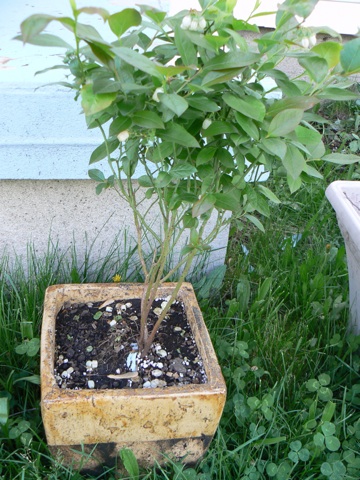
blueberry bush, its first year
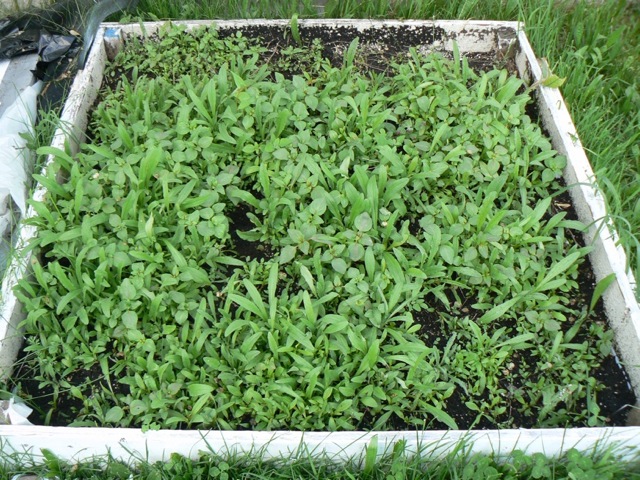
a raised bed of many, many wildflowers
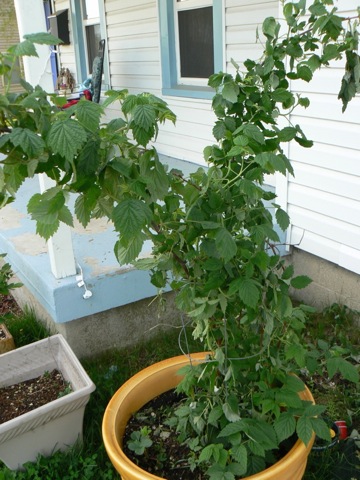
raspberry bush, 3 years strong !
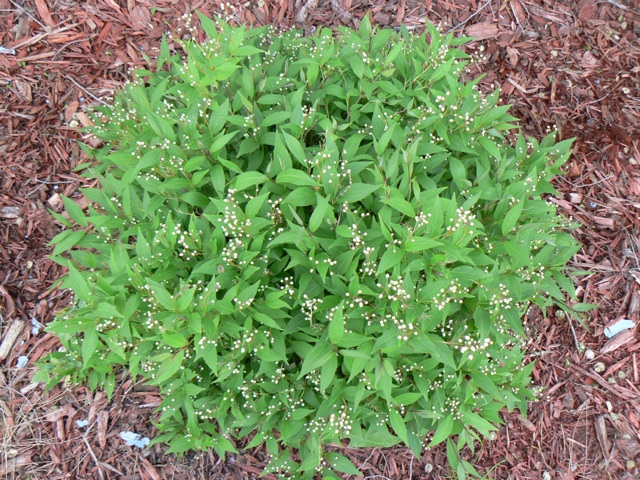
the small bush with white flowers that still remains nameless
the hoop house contents, so far
*Kelly*
Published !
My drawing “Day9” that I did on my 9th day of bedrest was PUBLISHED!!
If you can, get your hands on this year’s copy of Cellar Roots 39th Edition . My drawing is full color, full page . ivermectin philipines I was so excited to hear that it was selected. can pugs be given ivermectin Last night, we went to the celebration dinner they had for those who were selected and Judah was the star of the show with everyone talking to him, even the hosts were making Judah apart of their speeches. how long can i take ivermectin topical
🙂

*Kelly*

Eye of the Tiger- Eyelet Tutorial
I put off doing some crafts because I was scared of doing eyelets ! WELL NO MORE!! I have finally did it and I have been successfully doing eyelets since 2008 😉 and now YOU can do the same :
*enter some very amped music*
ITS THE! EYE OF THE TIGER, it’s the cream of the fight
Risin’ up to the challenge of our rival
And the last known survivor stalks his prey in the night
And he’s watchin’ us all in the eye of the tiger
Eyelet Tutorial
Materials :
Eyelet Kit
Hammer
Scissors
Fabric to be eyelet-ed
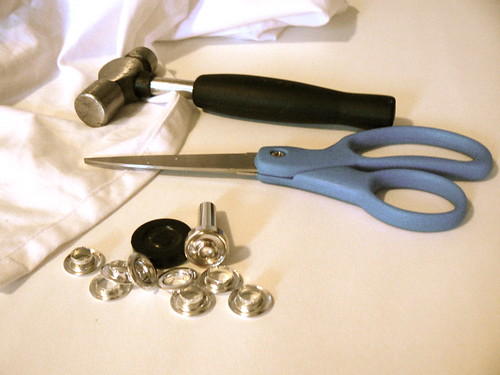
Step 1 : get an eyelet kit from the craft store (aka: mother ship) Make sure to get NOT the refill kit with just the eyelets. You want the one with the hammer accessories.
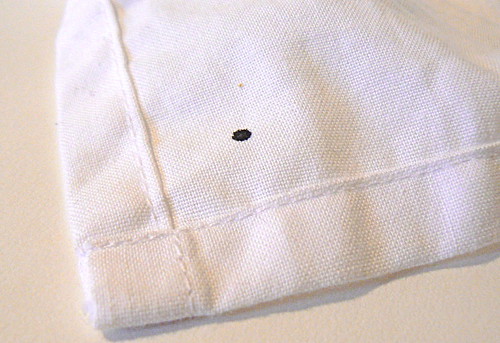
Step 2: Mark where you want your eyelet to go. Preferably inset enough from the seams that you wont risk ripping or tearing when pressure is added to the eyelet.
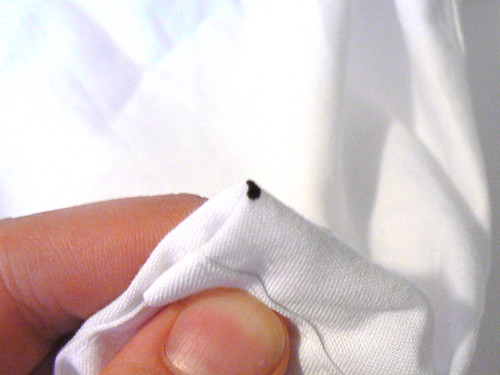
Step 3: fold the fabric area in half, then half again, to make that pointy triangle right where your mark is

Step 4: VERY IMPORTANT: DO NOT cut too big of a hole. Just Baaaaarely snip it. (remember, you can always subtract fabric) make a teeny tiny hole (trust me, it comes out bigger when you unfold it, plus you don’t want the hole to be too big so the eyelet can actually attach to the fabric)
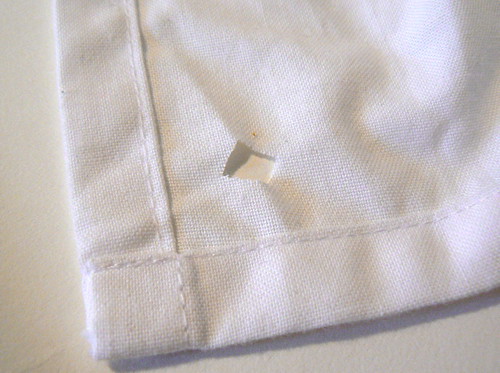
Step 5: unfold. seeee? that’s a pretty big hole for a teeny tiny sniplet =)
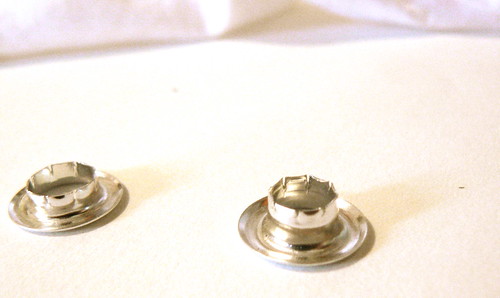
There are two parts to the eyelet: let’s call them male & female 😉 (the male is the protruding one)
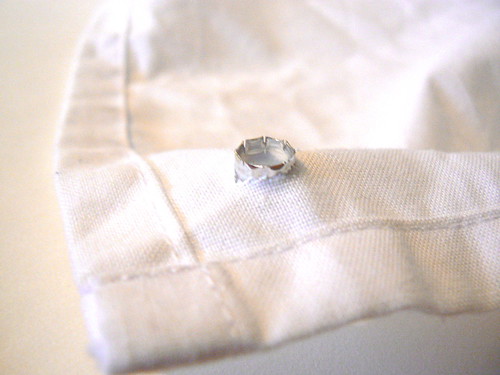
Step 6: Place the eyelet
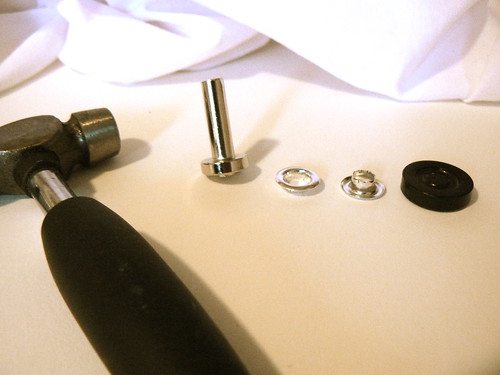
Step 7: This is the order to assemble the eyelet sandwich -if you will- from TOP to BOTTOM
Hammer on top of the “hammer accessory”
the female eyelet on top of the fabric on top of the male eyelet
the that all sits on the holder on top of the table
Step 8: Hold the “hammer accessory” on the now-made eyelet sandwich and HAMMER HAMMER HAMMER (watch out for the fingers!)
and…
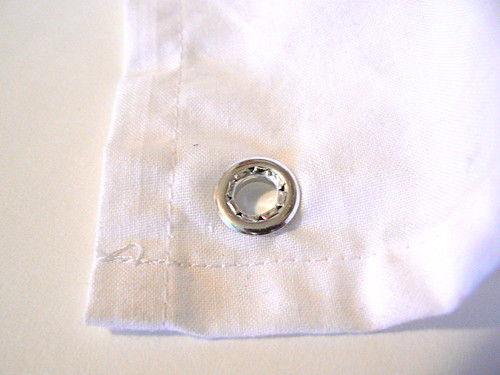
TADA!
Fear those eyelets no more!
*Kelly*