I put off doing some crafts because I was scared of doing eyelets ! WELL NO MORE!! I have finally did it and I have been successfully doing eyelets since 2008 😉 and now YOU can do the same :
*enter some very amped music*
ITS THE! EYE OF THE TIGER, it’s the cream of the fight
Risin’ up to the challenge of our rival
And the last known survivor stalks his prey in the night
And he’s watchin’ us all in the eye of the tiger
Eyelet Tutorial
Materials :
Eyelet Kit
Hammer
Scissors
Fabric to be eyelet-ed
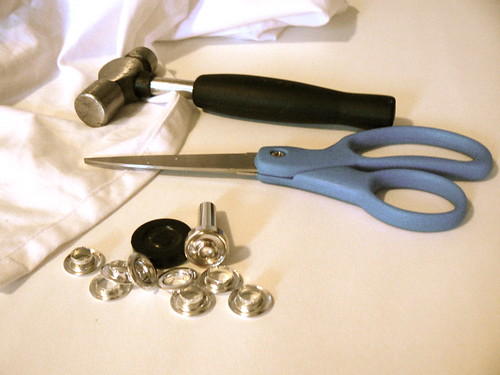
Step 1 : get an eyelet kit from the craft store (aka: mother ship) Make sure to get NOT the refill kit with just the eyelets. You want the one with the hammer accessories.
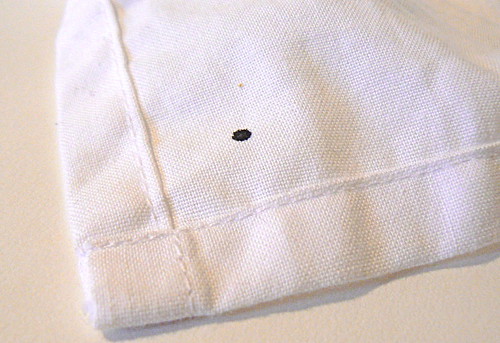
Step 2: Mark where you want your eyelet to go. Preferably inset enough from the seams that you wont risk ripping or tearing when pressure is added to the eyelet.
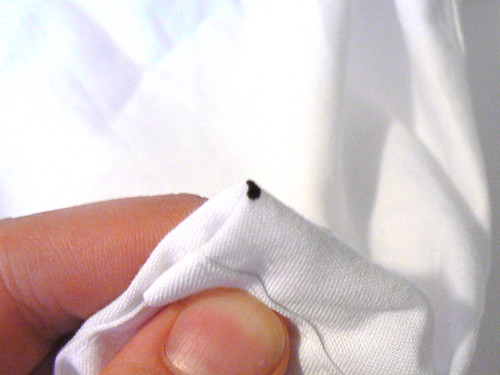
Step 3: fold the fabric area in half, then half again, to make that pointy triangle right where your mark is

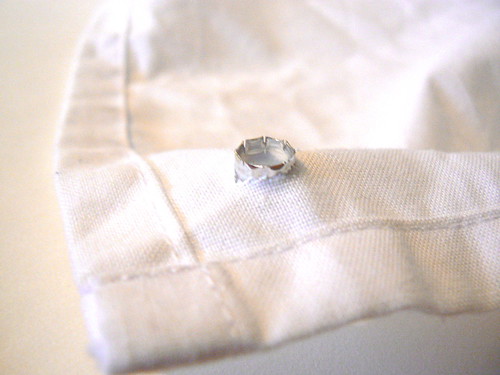
Step 4: VERY IMPORTANT: DO NOT cut too big of a hole. Just Baaaaarely snip it. (remember, you can always subtract fabric) make a teeny tiny hole (trust me, it comes out bigger when you unfold it, plus you don’t want the hole to be too big so the eyelet can actually attach to the fabric)
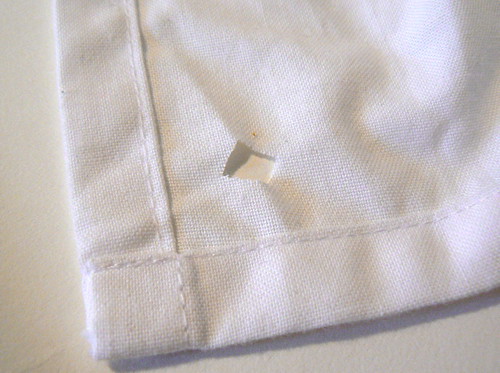
Step 5: unfold. seeee? that’s a pretty big hole for a teeny tiny sniplet =)
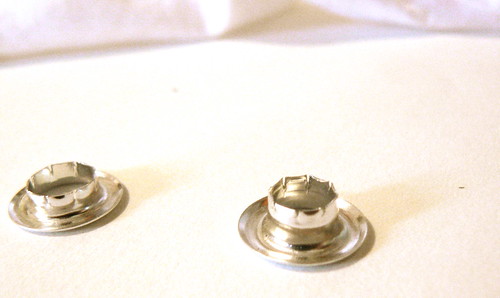
There are two parts to the eyelet: let’s call them male & female 😉 (the male is the protruding one)
Step 6: Place the eyelet
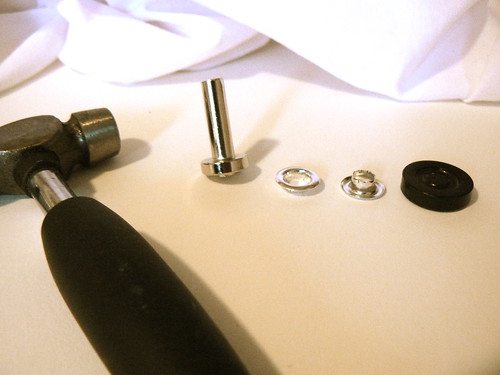
Step 7: This is the order to assemble the eyelet sandwich -if you will- from TOP to BOTTOM
Hammer on top of the “hammer accessory”
the female eyelet on top of the fabric on top of the male eyelet
the that all sits on the holder on top of the table
Step 8: Hold the “hammer accessory” on the now-made eyelet sandwich and HAMMER HAMMER HAMMER (watch out for the fingers!)
and…
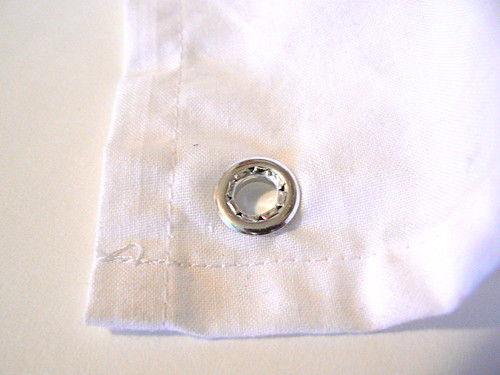
TADA!
Fear those eyelets no more!
*Kelly*