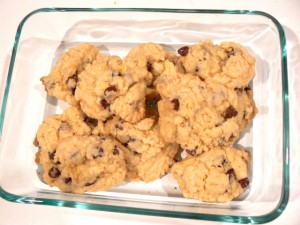
Late Night Cookie Cravings
Last night I made organic Dr. Oetker cookies and since they came out so well and we had Calder’s milk, I couldn’t resist taking a few pictures..


now go make some, too 🙂
Last night I made organic Dr. Oetker cookies and since they came out so well and we had Calder’s milk, I couldn’t resist taking a few pictures..
now go make some, too 🙂
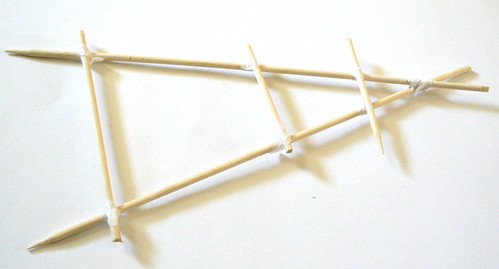
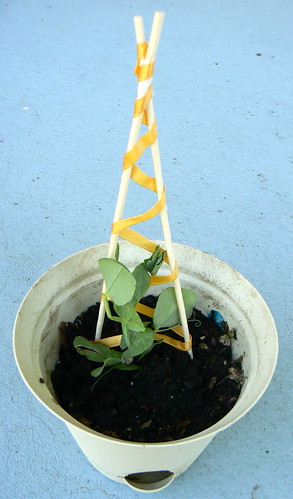
I am growing lots of pea plants, and I saw the little tendrils reaching and grabbing any twig they could find. I realized these little seedlings need something to climb on, and since they are too small from a big trellis, I decided to make tiny trellises. It only took me 30 minutes to make three different trellises, take the pictures & I squeezed in some Judah play time in there, too, so these don’t take long to make.
The ten minute trellis tutorial:
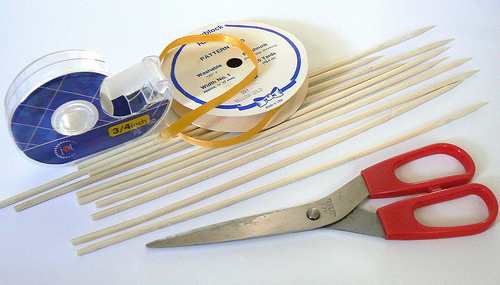
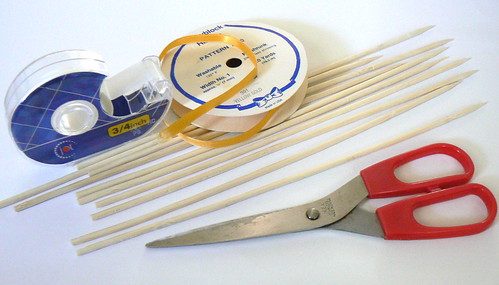
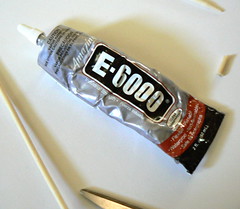
Step 1: gather supplies. You can use a variety of materials to lash the trellis together. I tried three different methods: clear tape, ribbon & glue, and electrical tape.
The first one I tried was the clear tape. The concept is the same, regardless of the materials.
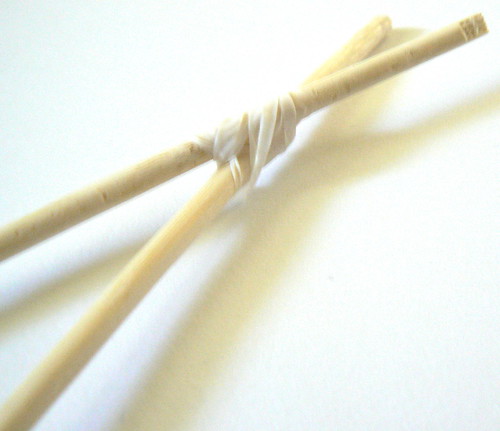
Step 2: I put two of the skewers together so they made a small X at the top. I put the pointy ends down, so they go in the dirt better.

Step 3: Here’s the idea of lashing them together. Basically an “over, under & around” method.
Step 4: This one was made with only 3 skewers, the two on the sides & the other split into 3
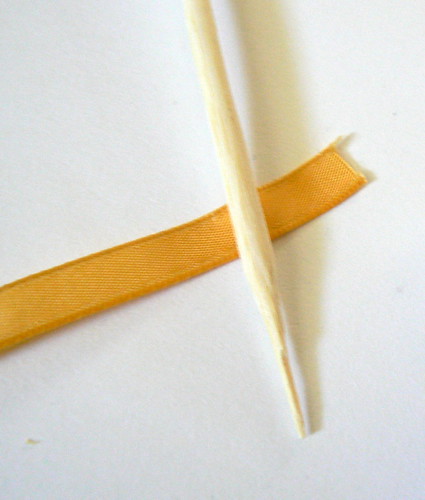
Here is the variation with the ribbon, using E6000 & spare ribbon.
You should lash them together like step 2 & step 3 show.
You start the ribbon at the end by glueing it.
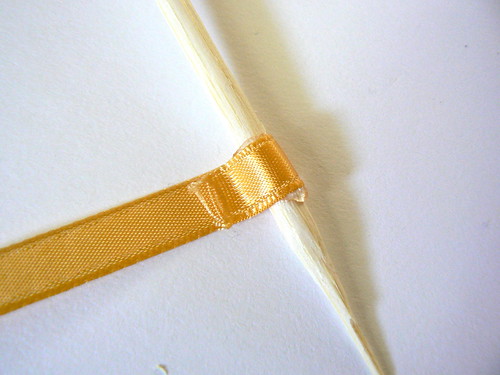
let the glue dry. Then wrap the ribbon around the skewers, glueing as you go.
and presto!
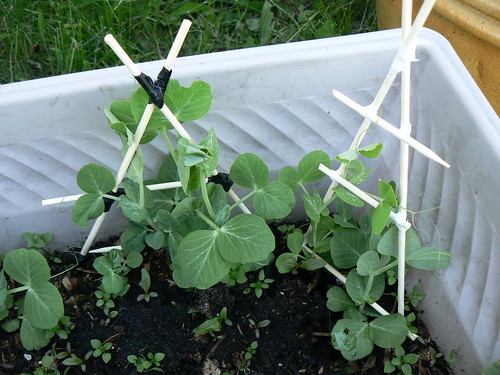
Here are the two other, really simple ones.
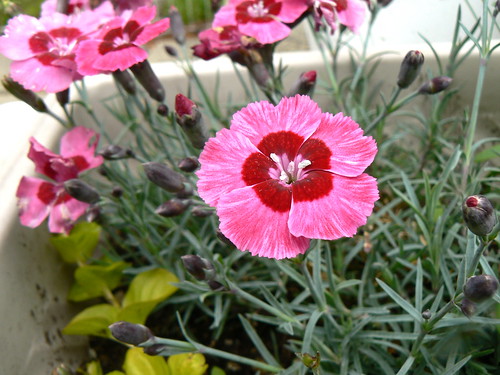
And a picture of the Phlox, for fun!
*Kelly*

Simple is sometimes better. ..
Yesterday was the Relay for Life in Southgate, MI. My sister works for the American Cancer Society and I always go out to her events that she plans. This year there was a trick-or-treat lap for kids to walk around and get candy. I found out about it two days ago, so I didn’t have much time to plan.
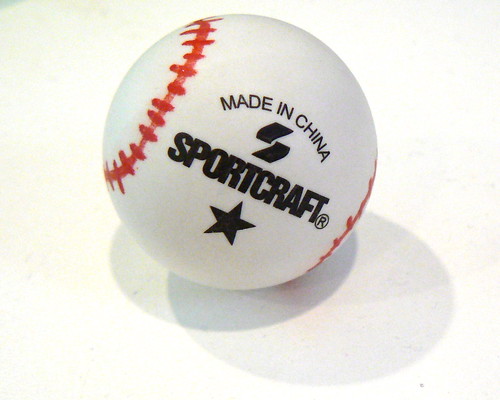
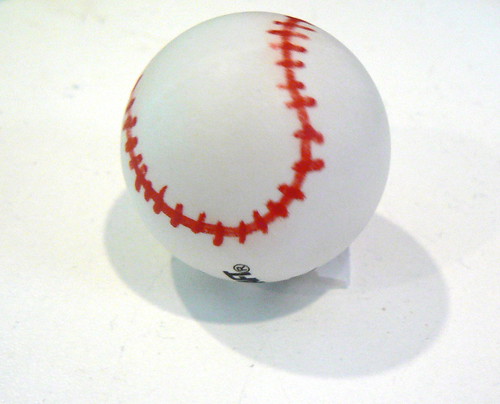
Judah hasn’t had a Halloween yet, because he’s only 3 1/2 months old, so he didn’t have a costume. His great-aunt had bought us a little baseball outfit for him, so we went with that. I was going to make him a plush baseball to carry, but Nathan suggested a little ping pong ball. It was perfectly to his scale. So I just washed off the ball, drew lines of a baseball on it with a paint marker, and there he had a little baseball!
here it is:
and here Judah is holding the baseball, with me and the whole outfit outside our house:
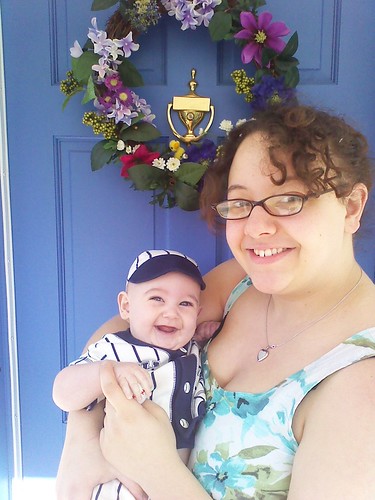
He got so many compliments yesterday, I’m so glad he could bring joy.
I’m writing this to say that even some of the simplest crafts make something so much better. ;D ;D
*Kelly*
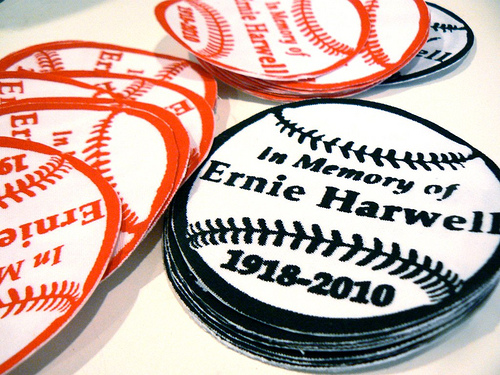
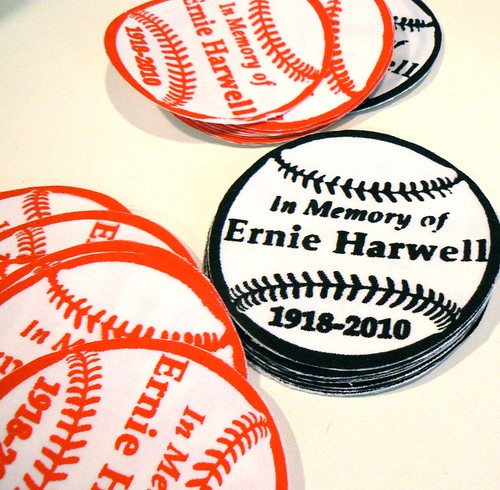
This week I did these commissioned patches for the American Cancer Society. They are in honor of Ernie Harwell, a man I didn’t know much about until this week, even though he was a very popular gentleman here in Michigan. “He was known for his long career calling play-by-play of Major League Baseball games. For 55 years, 42 of them with the Detroit Tigers, Harwell called the action on radio and/or television. In January 2009, the American Sportscasters Association ranked Harwell 16th on its list of Top 50 Sportscasters of All Time.” He recently passed away due to bile duct cancer at 92 years old.
To raise money for the American Cancer Society, I was asked to design & do these iron-ons.

“I think I owe thanks to the people who have listened to me over the years, who tuned in on the radio. They have given me a warmth and loyalty that I’ve never been able to repay. The way they have reached out to me has certainly been the highlight of my life.”- E. Harwell
*Kelly*
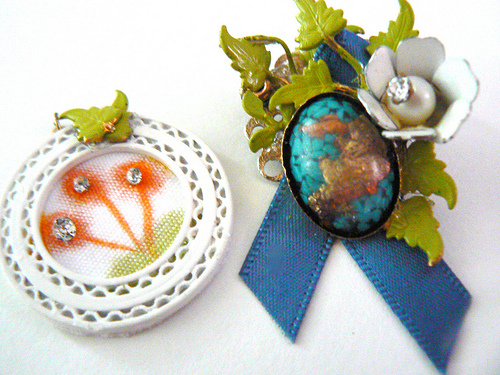
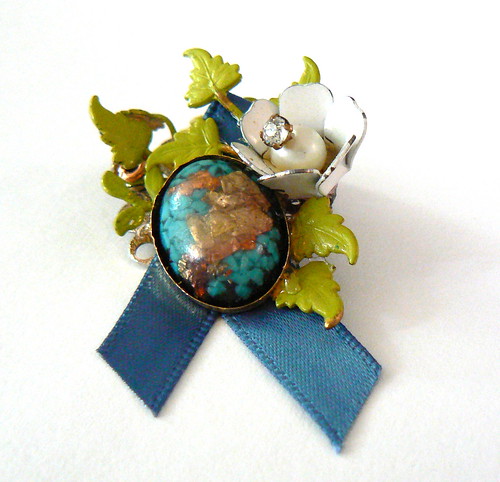
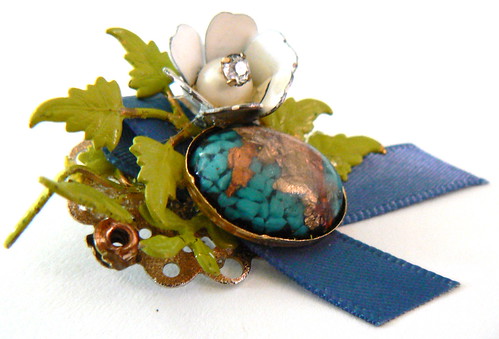
I have lots of small bits around the craft space, and to utilize some that are under the category of “I’m going to need that some day..”, I made a simple brooch & medallion.

For the brooch
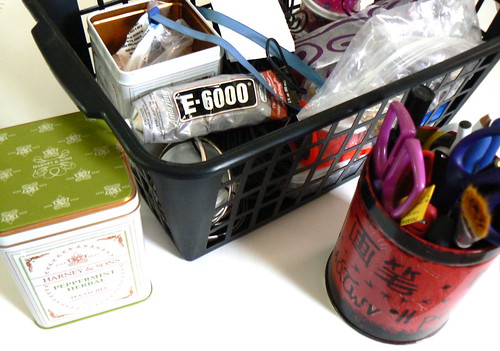
Step 1: gather supplies – pin backing, needle-nose pliers, scissors, E6000 glue, markers, miscellaneous bits of old jewelry, broken parts & mismatched earrings.
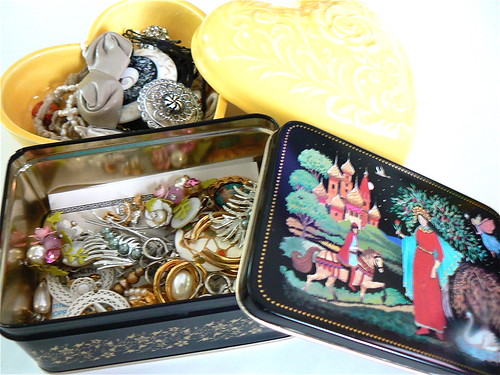
Step 2: DECONSTRUCT ! (needle-nose pliers used here)
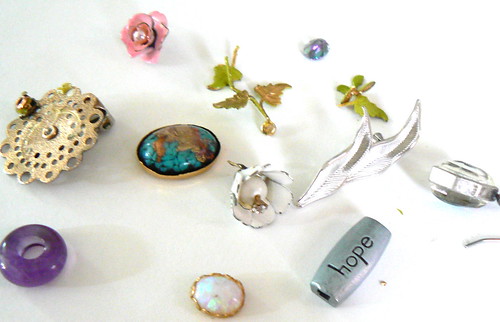
Step 3: ReCONSTRUCT! (here’s where your imagination & glue come in)
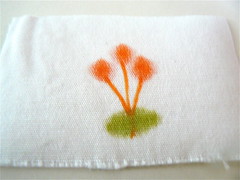
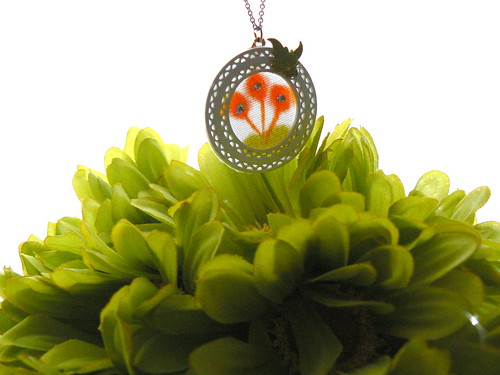
For the medallion
All the steps are the same, but I used fabric that I drew a simple design on for the back of the medallion. That way light can shine through it .
Draw a picture
Assemble
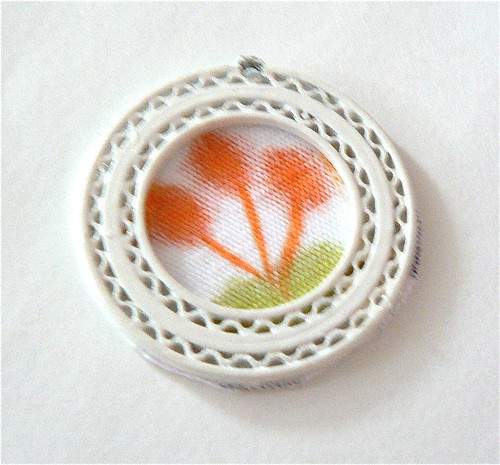
Embellish & add backing

*Kelly*