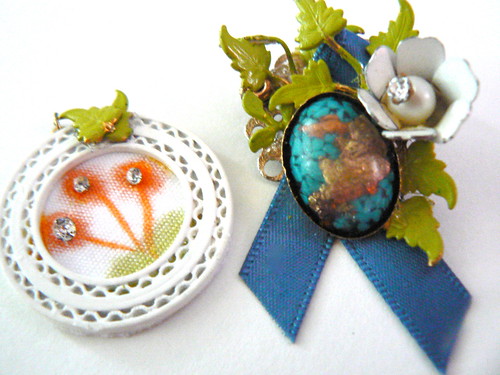
I have lots of small bits around the craft space, and to utilize some that are under the category of “I’m going to need that some day..”, I made a simple brooch & medallion.
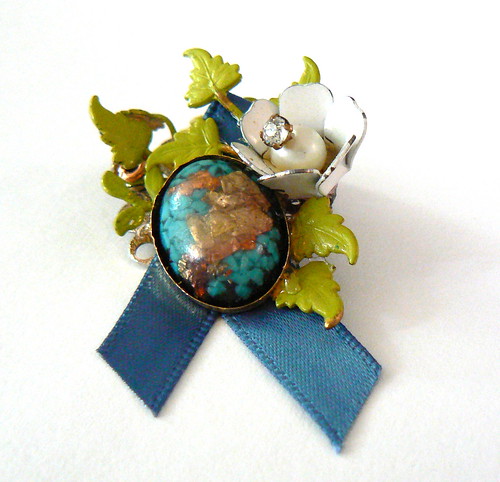
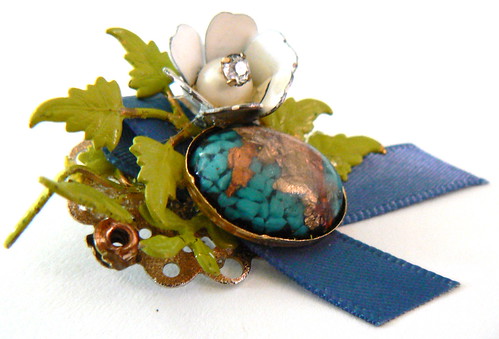
brooch, medallion, tutorial, diy, tutorial, craft, E 6000, scissors, panties, patches, blog

For the brooch

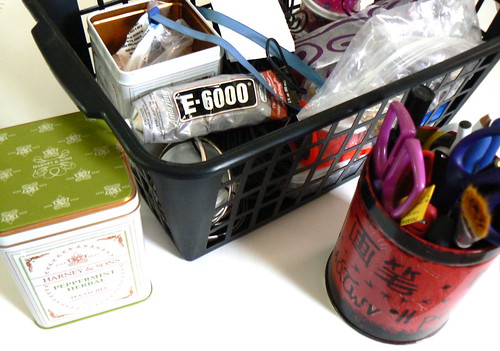
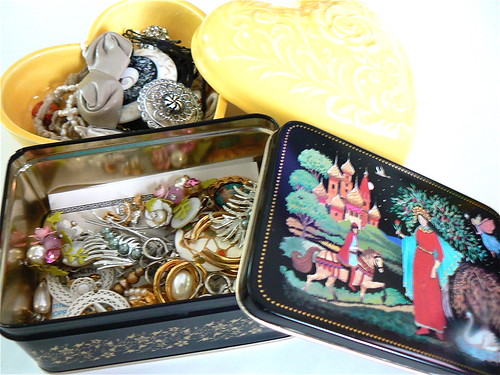
Step 1: gather supplies – pin backing, needle-nose pliers, scissors, E6000 glue, markers, miscellaneous bits of old jewelry, broken parts & mismatched earrings.

supplies, brooch, medallion, tutorial, diy, tutorial, craft, E 6000, scissors, panties, patches, blog

brooch, medallion, tutorial, diy, tutorial, craft, E 6000, scissors, panties, patches, blog

Step 2: DECONSTRUCT ! (needle-nose pliers used here)

brooch, medallion, tutorial, diy, tutorial, craft, E 6000, scissors, panties, patches, blog

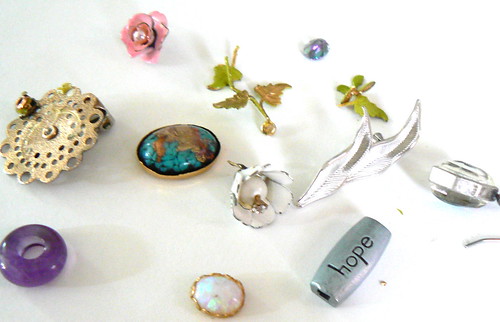
Step 3: ReCONSTRUCT! (here’s where your imagination & glue come in)
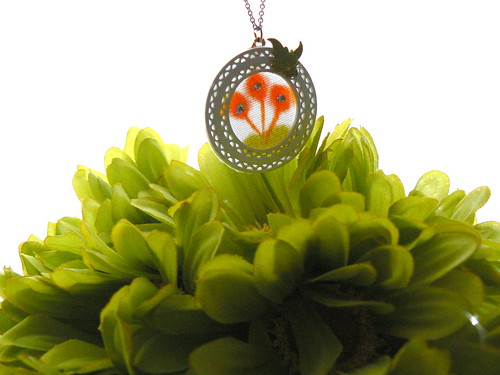
brooch, medallion, tutorial, diy, tutorial, craft, E 6000, scissors, panties, patches, blog

brooch, medallion, tutorial, diy, tutorial, craft, E 6000, scissors, panties, patches, blog

For the medallion

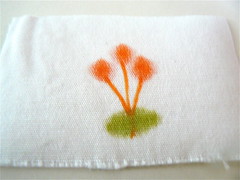
All the steps are the same, but I used fabric that I drew a simple design on for the back of the medallion. That way light can shine through it .

Draw a picture
brooch, medallion, tutorial, diy, tutorial, craft, E 6000, scissors, panties, patches, blog

Assemble
brooch, medallion, tutorial, diy, tutorial, craft, E 6000, scissors, panties, patches, blog

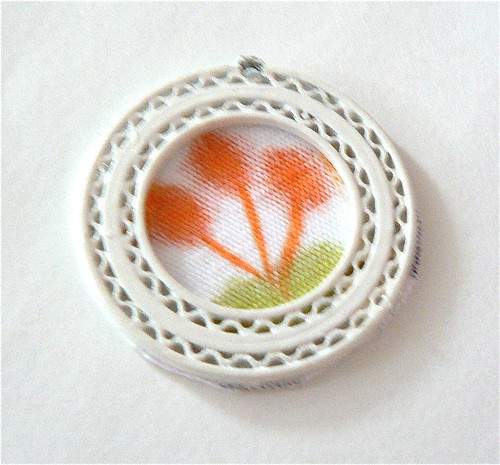
Embellish & add backing

brooch, medallion, tutorial, diy, tutorial, craft, E 6000, scissors, panties, patches, blog

brooch, medallion, tutorial, diy, tutorial, craft, E 6000, scissors, panties, patches, blog

*Kelly*